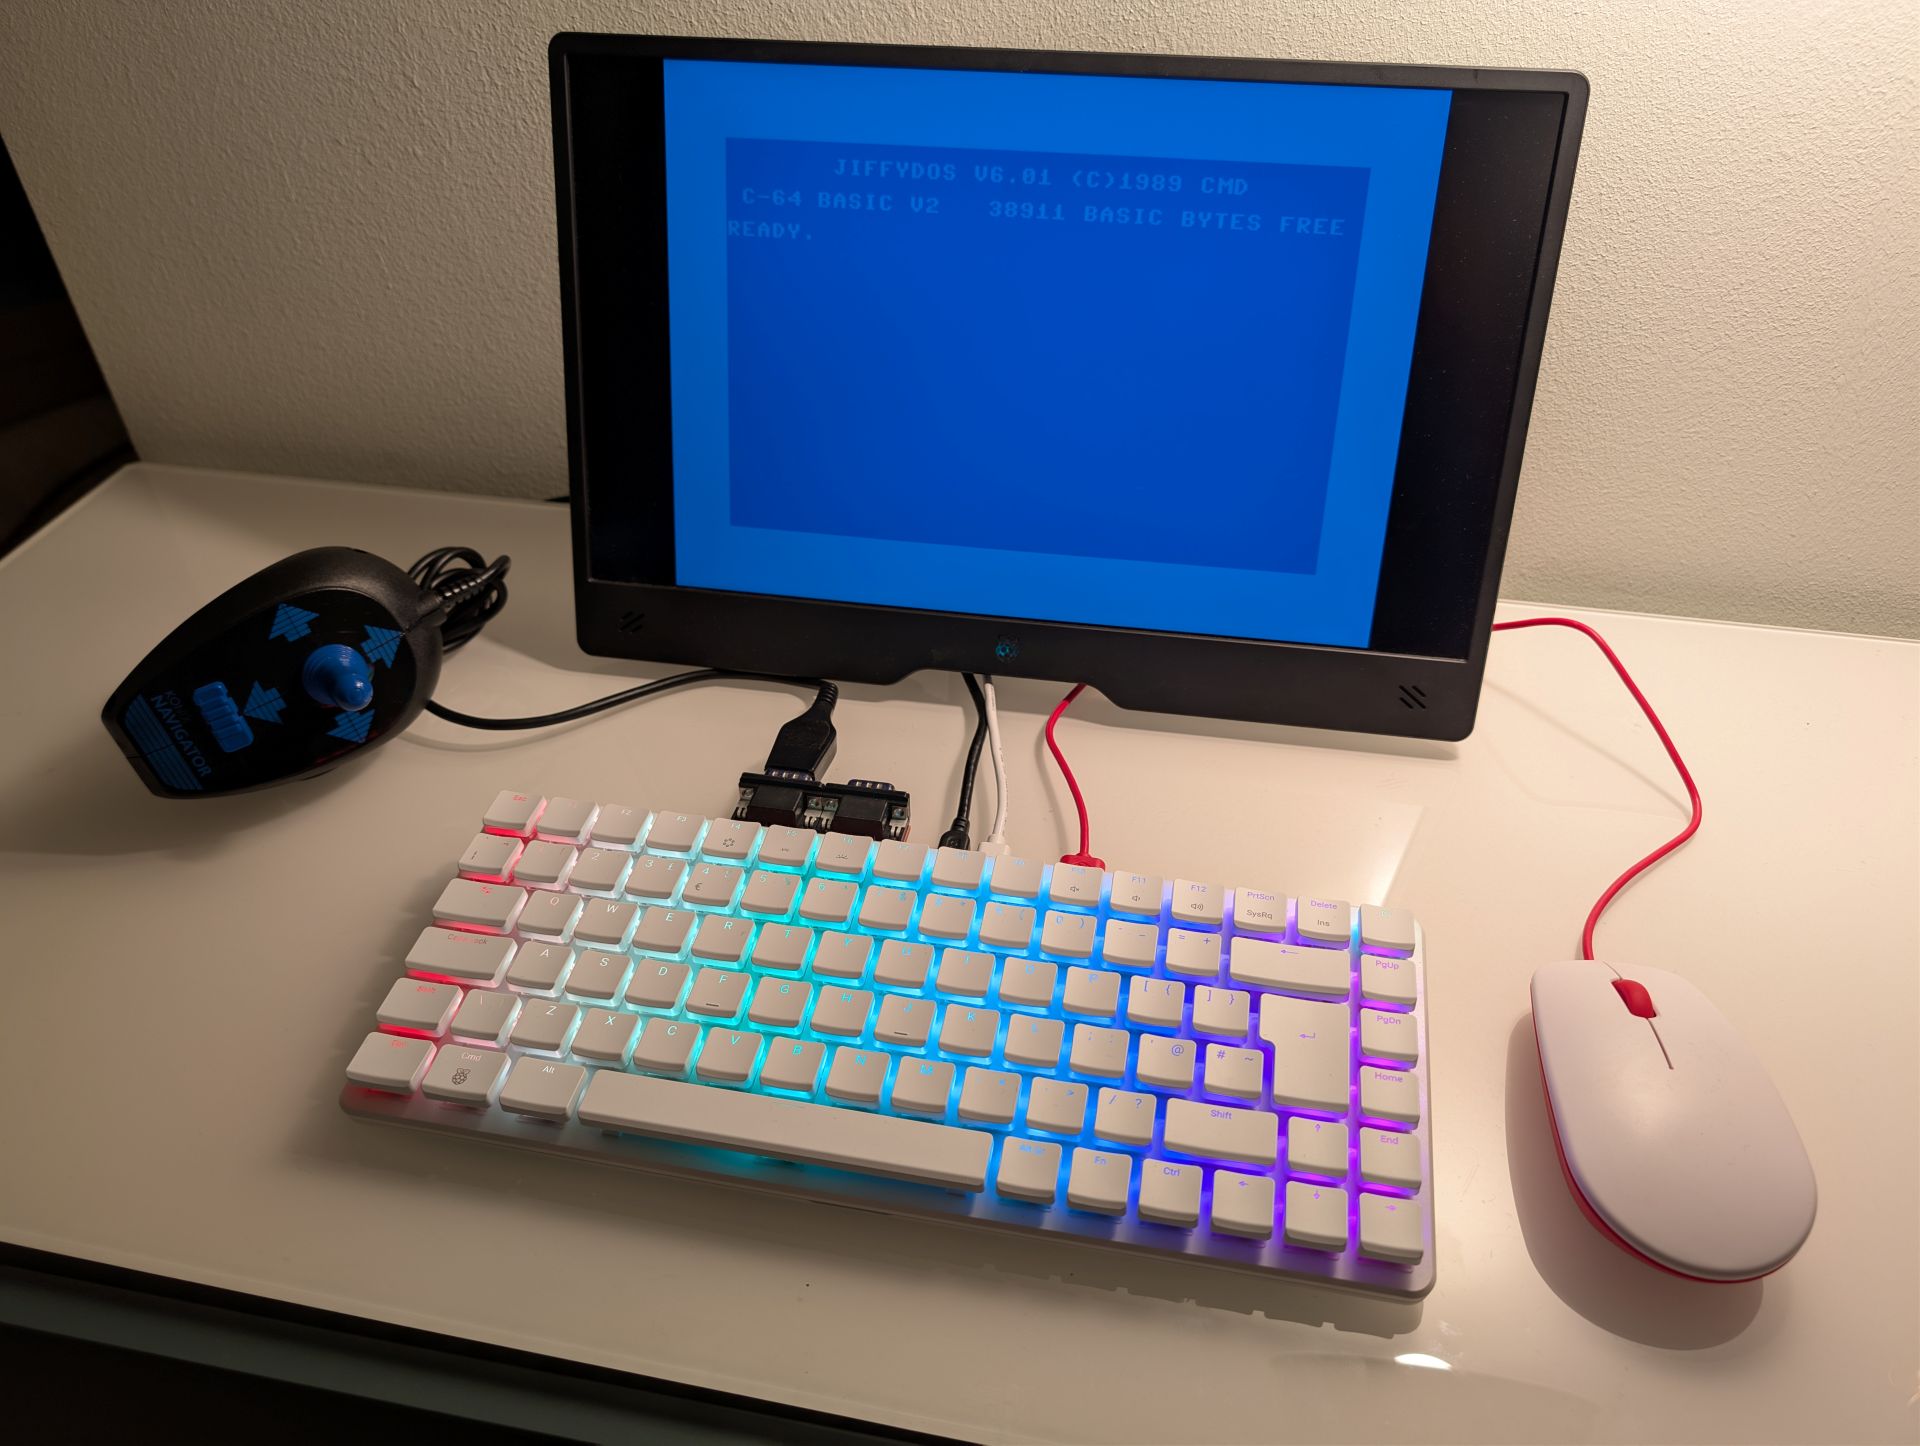
Turning a Pi 500+ into an 8-bit PC
Just last week the Raspberry Pi Foundation released the ultimate all-in-one Raspberry Pi, The Pi 500+!
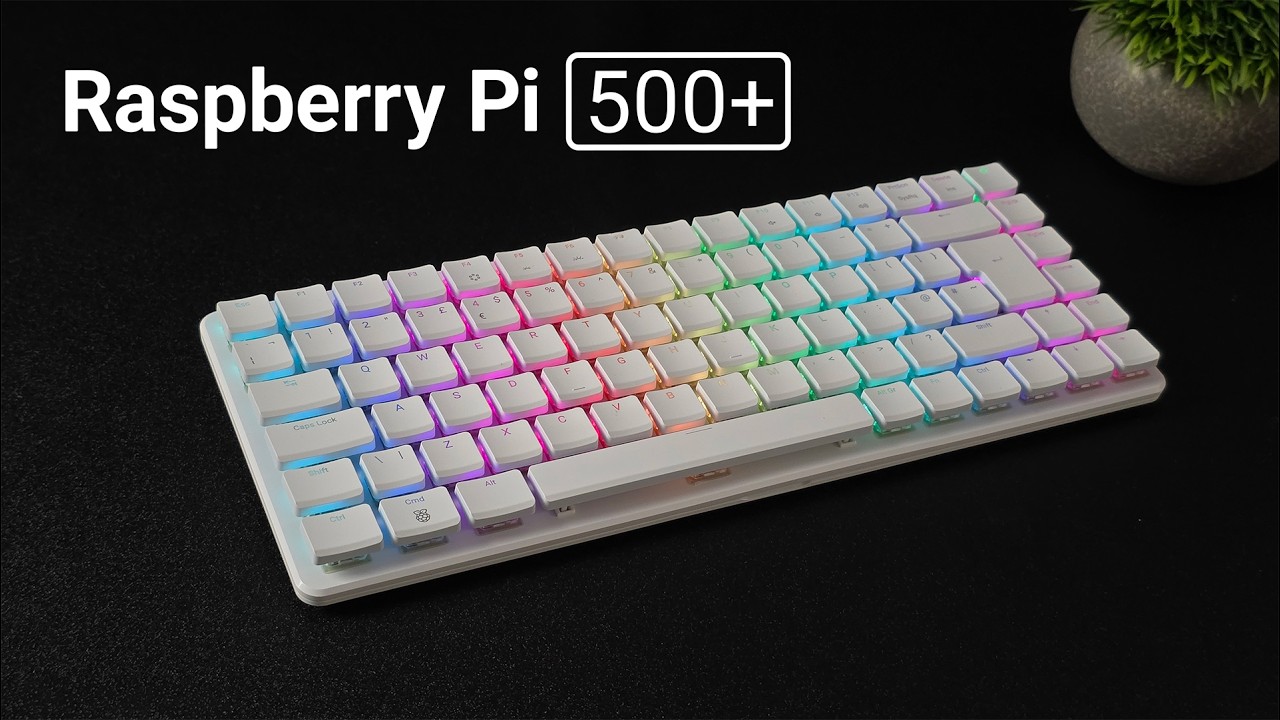
It's just like the original Pi 500 but with:
- A mechanical RGB keyboard
- 16 GB RAM
- SSD slot with 256GB Pi SSD included
With all the recent projects I had been working on this would be the perfect device to make a modern retro PC.
Going Retro
Get together the following parts:
- Pi 500+
- Raspberry Pi Monitor
- Raspberry Pi Mouse what? why? for C64 OS of course!
- BMC Joy PCB - adapter from Pi GPIO header to C64/Atari joystick ports
- Raspberry Pi 27W USB-C Power Supply
Add some software:
The easiest choice is to use 8-bit PC Pi Compile a makefile, installation scripts and menu, which will quickly and easily install VICE (Commodore 64) and Atari 800 emulators directly onto Pi OS Lite (64-bit)
- Build a BMC Joy PCB
- Plug all the hardware together
- Install the software following the 8-bit PC Pi Compile readme
- Add your own original C64/Atari joystick
- Enjoy retro goodness!
Dual boot
To dual boot a regular Pi OS Desktop installation and the 8-bit PC build, install Pi OS Lite and 8-bit PC Pi Compile on a microSD card. When inserted the Pi 500+ will boot off that first, simply remove the microSD card to boot the regular Pi OS Desktop installation on the SSD.
The result