Building a watch face for SQFMI Watchy!
What is Watchy?
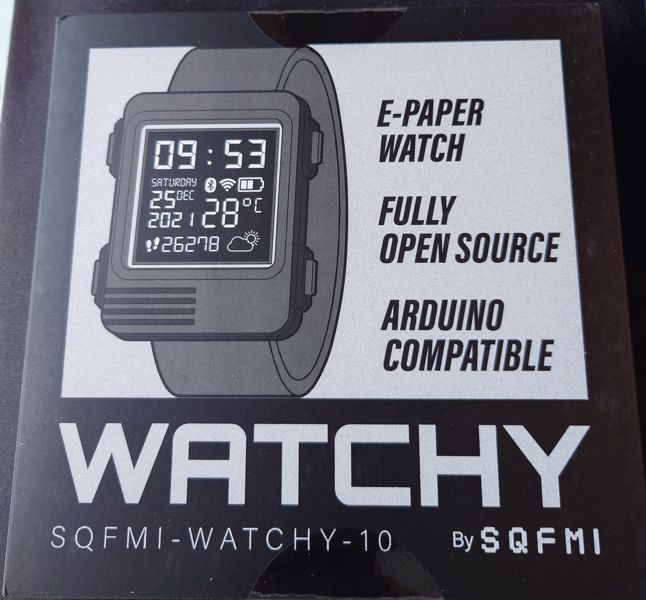
Watchy, is an open-source watch that comes in a do-it-yourself kit. It sports an ePaper screen, is Arduino-compatible, and hackable!

Before you get going you will have to assemble the watch and install all the appropriate software. I used the more basic Arduino IDE. Everything you need to know in in the Getting Started guide on the Watchy website.
Source code can be found on SQFMI Watchy GitHub
Is it practical?
Hell no!
- It can't get wet
- The ePaper screen is very thin and fragile
- The screen only updates every one minute
- It can only connect to a single WiFi point (and you need to connect to a computer or phone to set up the WiFi)
- There is no smart watch connectivity to your computer or Internet
- It's basically just a clock, that can pull weather data and has a step counter
Should you buy it?
Hell yes!
- Looks cool (especially with the anodised aluminium case)
- It's hackable, and that can be anything from a simple customisation to a full firmware replacement
- It has great battery life, probably up to a week or more
- It's just fun!
Getting started with watch faces
SQFMI has a getting started guide to create your own watch face on their site. This gives a very broad overview on how to create a watch face. It's actually been updated since I made my first watch face, so it's a little better now, but there is only very basic information to get going there.
Trying out the examples
The easiest way to get started is to just install any of the examples that SQFMI includes with the source code: Example Watch Faces
In those folders you need to open the *.ino file with the Arduino IDE, then select Upload, which will compile and upload the watch face.
Note
There are additional watch faces on the Watchy documentation site, but they can be a bit more complex to start with, so stick to the examples above.
Speeding up development
The first problem you will encounter is that development on the watch itself is slowwwww! To the rescue is WatchySim! This is a Watchy simulator that gives you a Watchy-like SDK to develop your watch faces, but lets you test them in a standard Windows GDI-based application. WatchySim builds under Visual Studio Community Edition and it's super fast to rebuild, test, and debug watch faces.
It also includes all of the example watch faces in folders, so you can quickly build and try out each one to see how it works. If you want to start your own watch face, you can just copy and rename one of the folders and then start hacking.
Pro Tip
Once your have your own watch face in your own git repository, you can just clone that repository into the WatchFaces subfolder for easy development.
Making your own watch face
Now you have uploaded and tried out someone else's watch faces, you are ready to make your own!
Deciding what to make
After playing with all the examples, then you have to decide what you would like to make...
... one eternity later, when you have your idea you are set to go... or are you?
That all depends if you just want to modify the layout of one of the examples, or draw a whole custom watch face.
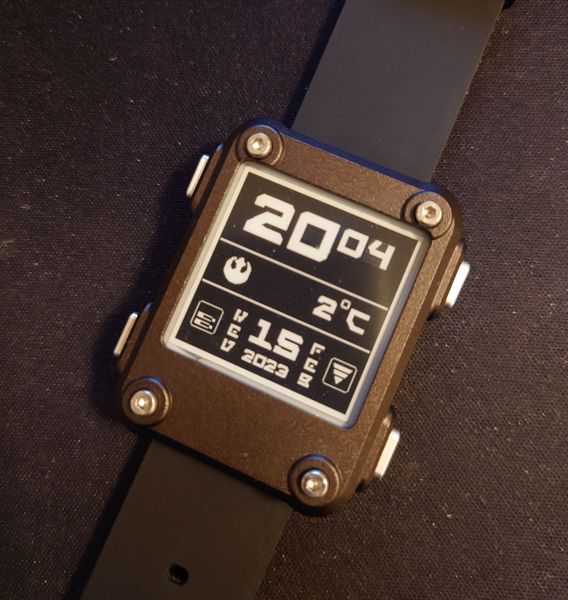
In my case I wanted to make a face that was related to Star Wars and use the style of the Aurebesh language you see in the movies and TV shows you see below.

Star Wars Aurebesh
Here is the final result Star Wars Aurebesh

It is based on the 7SEG example, with a new layout, and a custom font. I dropped the display of the current weather type, and the step counter from the 7SEG example. Otherwise all of the other features are still there.
Super easy, right! ... WRONG!!!!
The challenges
The layout, drawing some lines, placing some text, even drawing some vertical text, was all no problem. It was just some basic mathematics and some fiddling around and it was in place. The main challenge was to find a font that would work.
The monospaced font problem
At first I thought getting a font would be super easy. I found Star Wars Fonts which has so many fonts, there must have been one there that would work... WRONG!!!
First off I needed to have a font that used the style of Aurebesh but I wanted regular English letters and numbers. That restricted my choice to only a few. None of which were monospaced.
Finding a monospaced font was the key to making a good watch face. This ensures the watch face looks symmetrical and as the numbers change everything still lines up well.
If you can't find it, then build it.
Building a font
The best font I found was Aurebesh-English

... looks good but it's not monospaced.
Enter FontForge... this post is not a tutorial on how to use FontForge and this was a very steep learning curve, but with some patience you can learn to edit a font and make all of the numbers and letters monospaced.
I included my final result in GitHub: Aurebesh_English-Monospace

... looks good, it is monospaced and is more square to fit the watch face.
Converting a font
Watchy uses the Adafruit GFX Graphics Library, so fonts must be in the format this library expects (using fonts).
Converting a font can be done using the Font Convert tool provided by Adafruit (or see additional tools below).
Building Font Convert
Getting Font Convert built was almost a problem in itself. I ended up building and using it on Linux Mint since this was the easiest way to get it up and running.
- Get the Adafruit-GFX-Library repository
- You need to set the "
#define DPI 130" value inside thefontconvert.cfile. (Read this article for explanation: Font Customiser for Adafruit's fontconvert) - Run the commands below to install the build tools and libraries needed:
sudo apt-get install build-essentialsudo apt-get install libfreetype-dev
- Run
maketo build the executable
The otf font can then be converted to the code file needed with the following command. You will need to run the command multiple times for different font sizes if needed.
./fontconvert Aurebesh_English-Monospace.otf 36 > Aurebesh_English-Monospace36.h
Tweaking the font
Now the font is built it is ready to use, right... WRONG!!!
On any of the converted fonts I did there was always small imperfections caused by the scaling. To correct these I found this web site: Adafruit GFX Pixel font customiser
On that site you can load in the generated .h font file, and then go though character by character tweaking them until they look as you want. Once you are happy you can export an update to the file and you have your finished font.
Of course you need to repeat this for every font size you are using.
WiFi issues
There was also some minor issues with the WiFi. The Watchy SDK will go and grab updated weather details from the Internet every 30 minutes (by default). The issue is it only allows three seconds for a connection before it will give up and then drop back to display the temperature from the internal watch sensor. I didn't want to show the internal watch temperature.
To work around this I coded the watch face to remember the last temperature it retrieved from the Internet, and continue to display that if the WiFi failed to connect.
Additional tools
Some additional useful tools
Image2Cpp tool to convert images to code that can be directly complied into the watch face.
truetype2gfx - Online tool for converting fonts from TrueType to Adafruit GFX. Easier that trying to compile the Font Convert tool above.