Building a Commodore 64 - Part III - (The Keyboard)
Part III will focus on getting the best our of that second hand 30+ year old keyboard. To get your keyboard back to it's best you'll have to follow four steps to do a full refurbishment:
- Strip down
- Wash
- Retr0bright
- Reassemble
Strip
You'll need to tear down the keyboard into it's basic elements. Lucky this is 30 year old technology so all you need is a screwdriver and soldering iron. A keycap puller will make your life easier to get the keycaps off.
- Remove all of the keycaps with a keycap puller and remove the springs.
- Flip over the board and remove all of the philips head screws holding the PCB board.
- At this point you will have to desolder the wire connecting the Shift Lock key to the PCB. Carefully desolder the two wires.
- Remove the PCB, then you can flip the board and all of the plunges should come out.
Pro tip
The spring for the space bar is slightly stronger than all of the others, put it to the side to not mix it up!
Wash
Everything that is plastic can now be put in the kitchen sink with some warm soapy water to be washed! That's the keycaps, plungers, and the plastic frame. Scrub, scrub, scrub and then lay it all out to dry.
The metal springs can be scrubbed with a bit of steel wool if you see some rust on them, but on my keyboards these were in good condition.
Last you can take some 99% isopropyl alcohol and clean down the PCB with an old toothbrush.
Everything should be all clean now.
Retr0bright
The last step in the cleaning process is to remove any yellowing of the 30+ year old keycaps. The brown keyboards can suffer from yellowing on the lettering on the keycaps, and the white keyboards can have the entire keycap yellow.
Retr0brighting is a dark art, and everyone seems to have their own opinion on how it works and the best way to do it. It's a bleaching process using hydrogen peroxide H₂O₂.
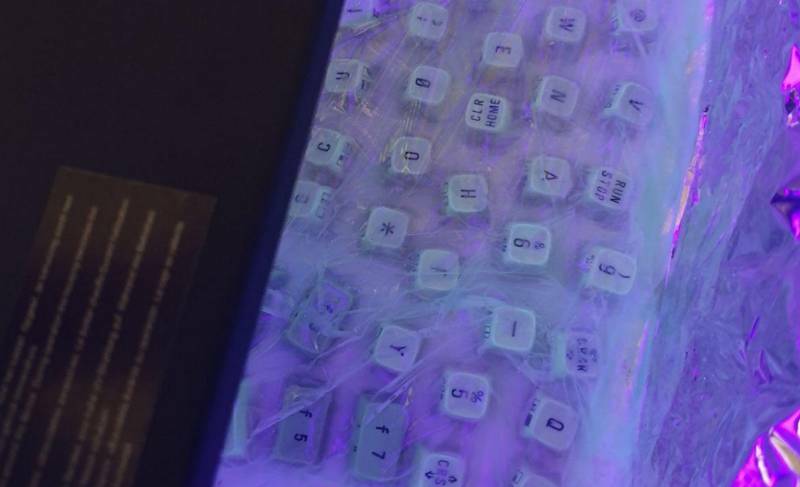
I use Hair Oxidizing Emulsion 40 Volume cream (12% H₂O₂). Apply a thin layer over the keycaps and then wrap them all in plastic film wrap. After which you can put them inside a container lined with aluminium foil. Then put them in the sun or under a UV lamp. Check them every hour or so. Move them around to make sure that cream covering them has an even coat over the keycaps (this avoids streaks).

After a few hours remove them from the plastic film. Give them another scrub and wash in the sink with some warm soapy water to remove all the cream. If they are still yellow repeat the process.
Pro tip
Take a photo of some keycaps before the retr0bright process so you can check progress.
Reassemble
If you have made it this far you should have all the parts refurbished, back to as good as new. It's time to reassemble everything. Just reverse everything you did to disassemble the keyboard.
- Put all the plunges back into the frame.
- Put the PCB on the back and put all the screws in.
- Resolder the Shift Lock key back on.
- Flip the keyboard and put all the springs back on, remembering to put the strongest one on the space bar.
- Put all the keycaps back on
Now you have a new case and refurbished keyboard to suit.
At this point the posts will diverge into each different build for the Ultimate 64 and BMC64.
All C64 Posts
- Building a Commodore 64 - Part X - (BMC64 Summary) » 2022-10-16
- Building a Commodore 64 - Part IX - (BMC64 case mounting) » 2022-10-16
- Building a Commodore 64 - Part VIII - (BMC64 Keyboard) » 2022-02-21
- Building a Commodore 64 - Part VII - (BMC64 Controllers) » 2022-02-01
- Building a Commodore 64 - Part VI - (BMC64 Prototype) » 2022-01-30
- Building a Commodore 64 - Part V - (Controllers) » 2022-01-16
- Building a Commodore 64 - Part IV - (Ultimate 64) » 2022-01-13
- Building a Commodore 64 - Part III - (The Keyboard) » 2022-01-03
- Building a Commodore 64 - Part II - (Common parts) » 2022-01-02
- Building a Commodore 64 - Part I - (Why!?!) » 2021-12-31